
To make motion graphics in Claude Code, create a Remotion project, add the agent skill with npx remotion skills add, start Remotion Studio, then prompt Claude Code scene by scene and render with npx remotion render. Remotion's docs list the timeout, stuck-render and codec fixes for failed renders. If you would rather not touch code, Vidwip AI Motion Graphics turns a written brief into a 30 second to 5 minute 1080p explainer.
Claude Code motion graphics skills let you describe an animation in plain English and get back working code that renders to an MP4. This guide walks through the whole loop with Remotion’s agent skill: install it, prompt scenes, render, and fix the errors Remotion documents.
We read the official Remotion and Claude Code docs and link each command to its source. We did not run these commands ourselves, so check the linked page if a flag has changed.
For a ranked list of skills, see our best Claude skills for motion graphics.
How Claude Code motion graphics skills work
A skill is a folder with a SKILL.md file of instructions that Claude Code loads when your request matches its description. According to the Claude Code skills docs, personal skills live in ~/.claude/skills/<skill-name>/SKILL.md and project skills in .claude/skills/<skill-name>/SKILL.md.
A motion graphics skill teaches Claude Code a specific animation toolkit. Remotion’s skill covers Remotion, which builds video from React components, so Claude writes components and Remotion renders them frame by frame.
What you need first
- Claude Code, with a paid subscription. The Remotion page for Claude Code notes that most coding agents need one.
- Node.js. Remotion’s page lists it as a prerequisite. We couldn’t read the minimum version, so check that page.
- A Remotion license check. The Remotion license page says the free license is for individuals and companies of up to 3 people, and companies of 4 or more need a company license. Paid tiers listed there include Creators at $25 a month per seat (checked November 2026).
Step 1: create a Remotion project
Create a blank project and move into it. These commands come from Remotion’s Claude Code guide.
npx create-video --yes --blank my-video
cd my-video
Remotion’s skills page also shows bun create video, which offers to add the skills while it sets up. Pick one route, not both.
Step 2: add the Remotion agent skill
Inside the project, run the command from the same guide.
npx remotion skills addThe Remotion skills page lists two more routes that it says work with agents including Claude Code.
npx skills add remotion-dev/skills
gh skill install remotion-dev/skills
If you prefer to place a skill by hand, the Claude Code docs say to create the directory and SKILL.md yourself. The same docs say to run /reload-skills if the top-level skills directory didn’t exist when your session started.
Step 3: start Studio and check the skill loaded
Remotion’s guide has you run the preview server in one terminal and the agent in another.
npm run devclaudeIn Claude Code, run /skills to list what is installed, as documented on the Claude Code skills page. If Remotion’s skills aren’t listed, rerun the add command from Step 2.
Step 4: prompt your scenes
Remotion’s skills page lists slash commands you can type directly. Its examples include /remotion-create Make a promo video for a record store and /remotion-markup Create an animated title card using Inter.
Other listed skills cover captions (/remotion-captions), maps (/remotion-maps) and docs lookup (/remotion-docs). If you aren’t sure which to use, the page points to /remotion-best-practices.
Prompt one scene at a time. These are our own example prompts, not from Remotion’s docs.
- “Make a 5 second title scene: the words ‘Q4 results’ slide in from the left on a dark background, then hold.”
- “Add a second scene: a bar chart with four bars grows from zero, labelled Jan to Apr, over 3 seconds.”
- “Make the transition between scenes a quick fade, and set the video to 30 fps.”
Keep an eye on the preview in Studio after each prompt. Fixing one scene is cheaper than untangling six.
Four habits that keep scenes clean
- Give numbers. Say the seconds, the fps and the exact text.
- One change per prompt. It is easier to see what broke.
- Ask for the data in a constant. Chart values you can edit beat values buried in markup.
- Use
/remotion-docsbefore props. Remotion’s page says to use it for current API references before implementing.
Step 5: render to MP4
When the preview looks right, render from the terminal. The Remotion render docs give this syntax.
npx remotion render <composition-id> <output-location>Use your composition’s id from src/Root.tsx and an output path such as out/video.mp4. If you leave the output out, the docs say the file lands in the out folder, and without --codec it uses the H.264 encoder.
Fixing render errors
Remotion documents three failure modes worth knowing. Each links to its source, so you can check it against your own error before changing anything.
“A delayRender() was called but not cleared”
The Remotion timeout docs quote the message as “A delayRender() was called but not cleared after 28000ms.” The usual cause is a delayRender() handle that never gets a matching continueRender().
Other causes listed there are blocked network assets, high concurrency making Chrome skip some video elements, and slow video downloads. The fixes are pairing every delayRender() with continueRender(), lowering concurrency, or raising --timeout, whose default the render docs give as 30,000 ms.
A render that hangs with no error
Remotion’s stuck render guide says newer Chrome versions removed headless mode and may stall renders. Its fix is to let Remotion use Chrome Headless Shell, not set --chrome-executable, and run this before your first render.
npx remotion browser ensureMP4 or MP3 files time out on Linux
A Remotion GitHub issue (#904), closed in August 2023, reported that the automatically downloaded Chrome on Linux lacked MP3 and MP4 codecs. A maintainer confirmed it, and the reporter worked around it by converting assets to WebM.
The issue is closed, so check you are on a current Remotion version first.
If an error doesn’t match these, paste the full message into Claude Code with /remotion-docs. We couldn’t find another documented fix to quote.
Write your own motion graphics skill
You don’t have to depend on a public skill. A skill is a folder with a SKILL.md containing name and description frontmatter, then your rules.
The Claude Code docs recommend keeping SKILL.md under 500 lines and moving long reference material into supporting files. Put your brand colors, fonts and timing rules there, so every scene Claude writes follows them.
Claude Code versus a no-code tool
Claude Code gives you full control of every frame, plus React code you own. It also means a project, a Node install, a license check and a debugging loop.
| Claude Code + Remotion skill | Vidwip AI Motion Graphics | |
|---|---|---|
| Input | Prompts, in a code project | A written brief, in the browser |
| Control | Every element, in code | Pick a style, edit the brief |
| Output | MP4 from npx remotion render |
30 s to 5 min, up to 1080p |
| Sound | You add it | AI song or voiceover in 74 languages |
| Setup | Node, Remotion, skill, license | Sign up free, no credit card |
If you’d rather not touch a terminal
Vidwip AI Motion Graphics turns a written brief into an animated explainer. AI plans the scenes, animates them and adds an AI song or a voiceover in 74 languages.
Vidwip has no Claude skill, MCP server or plugin, so this is a separate route, not a Claude Code add-on.
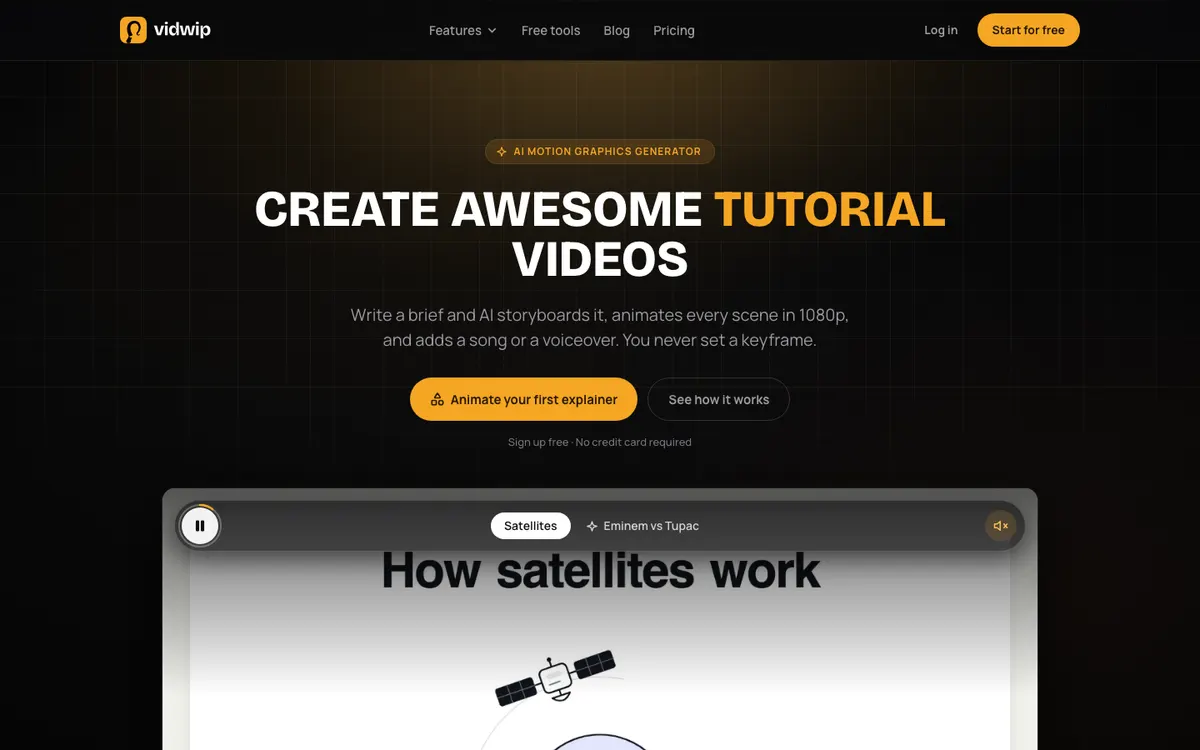
You pick from 85 styles, such as whiteboard, infographic or moving text. Videos run 30 seconds, 1, 3 or 5 minutes at 1080p, in wide, tall or square.
There are real limits. The brief is the only input, so you can’t use your own logo or brand fonts.
You can move and trim scenes on the timeline, but not change the animation inside a scene, so you edit the brief and generate again.
Signing up is free with no credit card, and exports have no Vidwip watermark. Credit rates are on the pricing page, and you can combine the result with other clips in AI Studio.
For the script-to-MP4 route with Claude, see Claude skills to create video.